If you are anything like me, there is a pure hatred running through your veins for package gathering. Bouncing from site-to-site in search of those PHP packages that will “help” simplify and save both your time and the client’s money.
I have recently found an exciting new resource that expedites this process to give you more time practicing guitar chords or making cute little drawings with the little ones. Composer.. a package dependency manager for PHP.
Installation
*This installation actually uses the global form of Composer dependency manager. Basically, you would use composer instead of php composer.phar when running the command.
We will use Homebrew to install the packages needed to run the installation.
Homebrew – Package manager for the OS X operating system. They claim to be “The missing package manager for OS X.”
First, install the Homebrew manager by opening a terminal and entering:
ruby -e "$(curl -fsSL https://raw.github.com/Homebrew/homebrew/go/install)”
After the Homebrew installation completes, we still have a few maintenance tasks to do before installing Composer. I will explain some of the lines then give you the code to copy and paste for ease.
brew update – fetches the newest version from GitHub to ensure that it’s up-to-date
brew tap – adds the repository from GitHub to the list of repos to be tracked and updated by Homebrew
brew install – simply installs the named packages from the brew tapped repos
brew update

brew tap homebrew/homebrew-php

brew tap homebrew/dupes

brew tap homebrew/versions

brew install php55-intl

brew install homebrew/php/composer
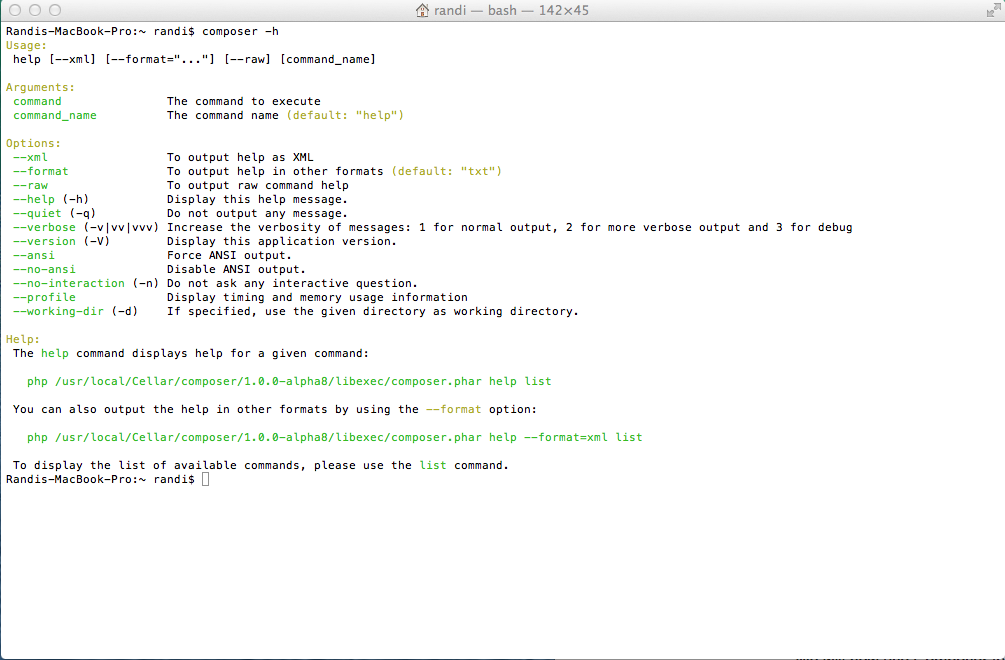
Bam! All done with installation. Now if you type composer -h into the terminal then you should see something like this:
Begin using the dependency manager
Now, we will learn how to use the package dependency manager from scratch. There are two ways to do this. One is simpler than the other; however, it is recommended to learn both. In this example, we will pull the Aura Framework package for using PHP in the command line easily.
Package: aura/cli
Manually – not recommended due to my memory being bad and like using the meta fields
1. Create empty directory
mkdir example
2. Now make the composer.json file that contains the information used to process the command. (VIM is my editor of choice. You can do this using your favorite.)
vim composer.json
Then enter (after hitting the “i” key to start inserting)
{
    "require": {
        "aura/cli": "*"
    }
}
(ESC :wq — will save and close the document for you)
This simply says to include the required aura/cli package and * means to pull the most recent version.
3. Run the composer install command to make it all happen like magic. If you are using a pre-made composer.json file then you would still only have to run composer install in that directory. Now you have a directory labeled vendor/ which includes the package(s) and the autoloader. To utilize the pages you can require directly or autoload (recommended).
Visit the example that I have posted to our GitHub account to view the structure and a small app.
There is another way to actually create a composer.json which is pretty much automated for you. Just go into the project folder and type:
composer init
This command will actually put together most of the information that you need automatically. It even allows you to search for the package that you need (good if you can’t remember it exactly).
As Cal Evans would agree, post a license type. No license = useless.
Randi,
Great read man. Although I’m as knowledgable as you about using bash, the terminal or running a dependency manager.
There’s a first time for everything. I’m gonna check this out.
p.s. you should remove the “You may use HTML blah blah..” section below this comment textarea. I suggest this because spammers love adding crap via HTML tags, and it just cleans up the bottom of the comment form a bit. Just my 2 cents.
Randi,
I meant “not as knowledgeable as you” lol.
Awesome. Thanks for the input. I was debating on removing that and you just helped me make the decision 🙂
Randi,
I also recommend using Disqus to handle your comments. Great service and they have a WP plugin. I use that on my personal blog at http://joshuatcraig.com and will be using it on my company blog too, when I start blogging lol geez so much to do. It’s a wonder I ever get sleep.